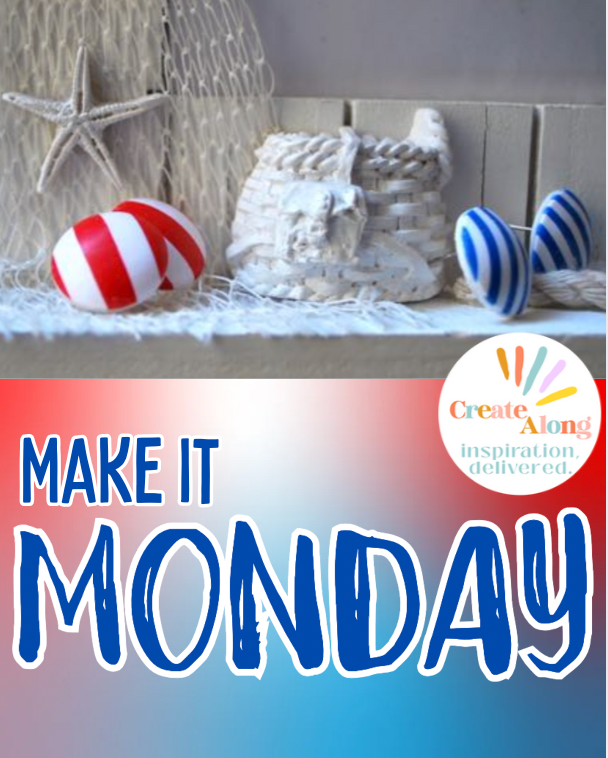
Nautical Stripes - Two Ways! Check out this Polymer Clay Earring Tutorial

I like to make things easy, trying to not complicate the creative process. And, I love nautical things – whether it is clothes, home-decor, or beauty accessories. These Nautical Striped Button Studs are the perfect accessory for your summer wardrobe - especially for a seaside vacation, or for your Labor Day celebrations. - Panarilli
Tools and Materials:
Sculpey® Premo! Cadmium Red Hue Sculpey® Premo! White
Sculpey® Premo! Blue Glitter Sculpey® UltraLight
Sculpey® Bake & Bond
Round cutter a bit bigger then the circle mold diameter Sculpey® Silicone Bakeable Mold – Cabochon
Blade, brush
Baby powder
Extruder
Roller or Pasta-machine
Clay Extruder
Baby wipes
Earring studs
Make sure the working space, tools and hands are clean – we are going to work with white clay and it requires maximum tidiness. Condition the clay well. Start with the white. Make a log and place it into the extruder with a rectantular slot disk to make the ribbon. Then change the disk for the one with small circle holes and make some white strands. Condition the blue glitter clay and make strands as well. Then, make some red ribbons throughout the rectangular disk.
 .
. 

Make two rather thin sheets of white clay using the pasta-machine or a roller.
Now we start on building up the striped pattern on the rolled clay. Place a blue strand on the white clay sheet. Place it as straight as possible. You may use the blade to help you straighten the strand. Then place the white strand closest to the blue as possible. Continue with blue, then white and so on. Once done smooth the connections between the threads and leave to rest a bit. Make the red and white striped sheet using the same technique placing red-white-red ribbons one to another.


Roll the sheets through the pasta-machine starting on the thickest setting – stripes should be vertical. Then go through he next setting. I finished somewhere in the middle of my machine thickness – it is setting 5 on my machine.


With a round cutter, cut two circles.

Put some small amount of baby powder (I apply it with a brush) to the smallest round mold. Front side down place the circle on the mold (the smallest circle). Take a small amount of Sculpey® UltraLight, condition it, make sort of a ball and press with it over the stripes circle right in the mold. Do it gently. You may use the roller to make it even in the mold. Cut off the exceeding clay with the blade. Press a stud into the future earring (about 2mm deep) and put a drop of Bake and Bond right into the whole with the stud. Spread it a bit if needed. The earring is ready to be baked. Follow the temperature and time instructions written on the package of the clay you are using. As we are using white clay, I am usually covering my little creations in the oven with a napkin or some white office paper. Repeat the same for the second earring.

 .
. 
Once baked you take out the earrings from the mold. Even the edges with the sanding paper. As we have been using baby powder, some polishing is needed. I first use baby wipes and then a piece of denim.
Do not stop on studs only. Use your imagination, tools and materials.


