How to Make Stunning Polymer Clay Beads with Our Bead Baking Rack, Bead Pins, and More!
Hey, crafty friends! 🎉 Are you ready to take your polymer clay bead-making skills to the next level? Well, buckle up, because today we're diving into a fun tutorial that will have you making beautiful, custom polymer clay beads in no time. Whether you're a jewelry-making newbie or a seasoned clay enthusiast, this step-by-step guide is going to make your crafting heart skip a beat. 💖
What You’ll Need:
Before we get started, let’s talk about the tools we’ll be using today. Trust me, these are game-changers that’ll make your bead-making process smooth, easy, and oh-so satisfying.
- Bead Baking Rack – No more worrying about uneven baking! This little beauty keeps your beads perfectly aligned while baking.
- Exclusive Bead Making Pins – Want your beads to be the same size every time? These pins are a total lifesaver.
- Rubber Stamps for Texture – Add that personalized touch to your beads with stunning textures. We’ll show you how to use them!
- Ink & Mica Powder – To give your beads that extra pop of color and shimmer. Get ready to sparkle!
Step 1: Start with the Basics – Preparing Your Clay
First thing’s first—grab your polymer clay (any brand you love will work!). Roll it out into small balls. The size of the balls depends on how large you want your beads, but for beginners, start with about 1 inch in diameter. You can always adjust for bigger or smaller beads as you get the hang of it.
Step 2: Perfecting Your Bead Shape with Bead Pins
Now, here comes the magic: our exclusive bead making pins. These pins are designed to help you shape your beads evenly. You just stick your clay onto the pin and then start rolling it between your hands to shape it perfectly. This is a huge time-saver, and it guarantees that all your beads are the same size—perfect for making matching earrings or bracelets. 🙌
Step 3: Texture Time – Using a Rubber Stamp
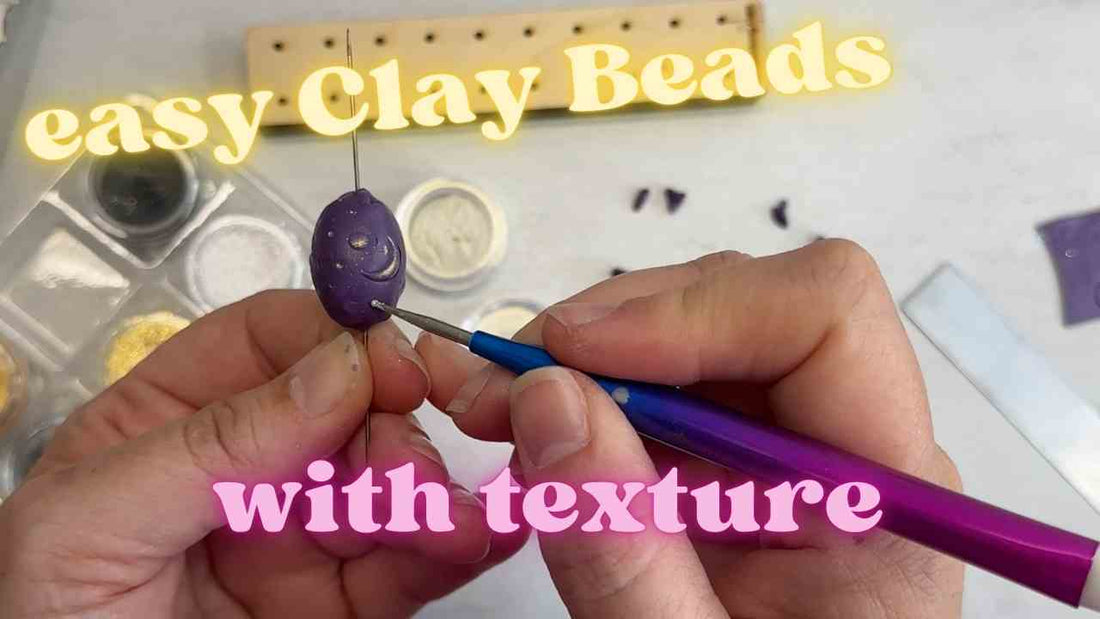
Okay, here’s where the fun really begins! Let’s give your beads some texture. Grab your rubber stamps and press them gently onto your beads. You can go for a soft, subtle texture or something bolder—it's up to you! I love how a simple texture can add so much depth and interest to a bead. Plus, rubber stamps are super versatile. You can use them for making floral designs, geometric patterns, or even fun little details like leaves or stars. The possibilities are endless! 🌿✨
Step 4: Ink & Mica Magic – Adding Color & Shimmer
Now for the really fun part! This is where your beads go from “meh” to WOW. We’re going to bring your beads to life with mica powder and ink. Lightly dust the beads with mica powder for a shimmery finish, or use ink to add color and depth. You can experiment with different colors—metallic tones, earthy shades, or even bright, bold hues—to create beads that match your personal style.
Step 5: Baking Your Beads to Perfection
Once your beads are ready and looking fabulous, it’s time to bake them. Place your beads onto the bead baking rack and bake them according to the instructions for your polymer clay (usually at 265°F – 275°F for 15-30 minutes, depending on thickness). The baking rack is a lifesaver here because it keeps your beads from flattening out, ensuring they come out perfectly round and evenly baked. No more wobbly beads!
Step 6: Putting It All Together
Once your beads have cooled, you can use them to create necklaces, earrings, bracelets, or whatever jewelry you fancy! Add a little wire, jump rings, and findings to bring your project to life. And there you have it—stunning, custom polymer clay jewelry that’s totally unique to you!
Why You Need These Tools
If you’re serious about making polymer clay beads (or just want to up your game), these tools are going to make your life so much easier. With the bead baking rack, you’ll never have to worry about uneven baking again. The bead making pins help you achieve consistent bead sizes every time. And don’t even get me started on the rubber stamps and mica powder—they’ll bring your designs to a whole new level of professional polish!
Ready to give it a try? Whether you're crafting for fun or diving into polymer clay jewelry-making as a hobby or business, these tools will help you create stunning, professional-quality pieces with ease. Check out all the tools used in today’s tutorial and start making beautiful beads today!

