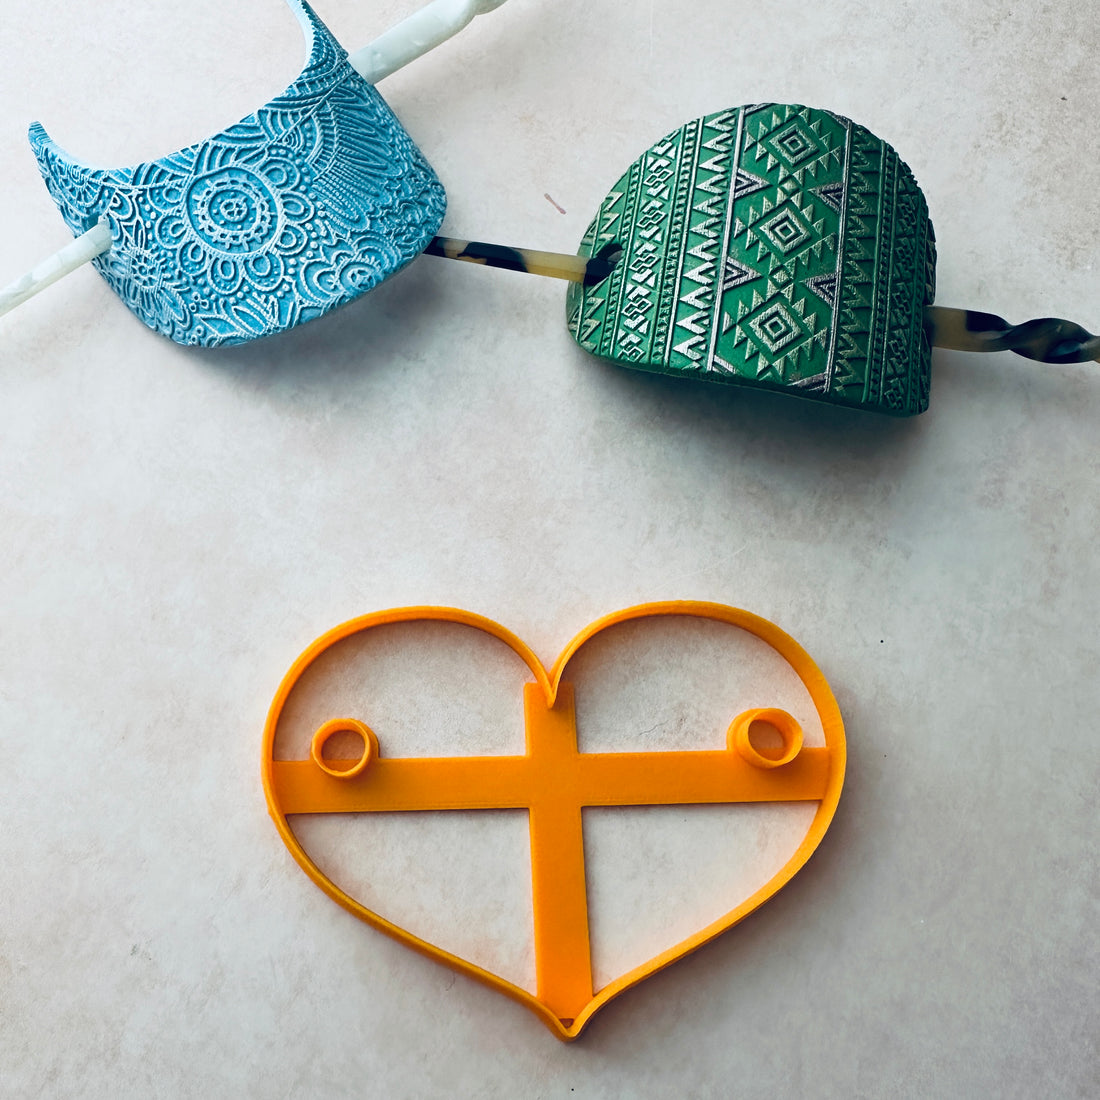
Create a Stunning Polymer Clay Hair Bun Cover hair slide barrette: A Step-by-Step Guide

Find Hair slide bun covers at this link
Hey there, crafty queens of creativity! Today, we're diving headfirst into a fun and trendy polymer clay project that's not only stylish but also functional. Ever wished you could add a touch of artistry to your hair buns? Well, you're in luck! In this step-by-step guide, we're going to show you how to make a fabulous polymer clay hair bun cover that's sure to turn heads.
**What You'll Need:**
- Polymer clay in your favorite colors
- Rolling pin or pasta machine
- Craft knife or clay blade
- Texture sheets or stamps
- Hairpin
- Oven for baking clay
- Hair slide cutter
- Varnish or glaze (optional)
**Step 1: Choose Your Colors**
Start by selecting your polymer clay colors- pick your favorites to match your style or outfit. Remember, the key to a stunning bun cover is creativity!
**Step 2: Roll Out the Clay**
Roll out your chosen clay colors into thin, even sheets using a rolling pin. You can mix colors or use solid sheets – it's all about expressing your unique style.
**Step 3: Add Texture**
Here's where you can get really creative. Use texture sheets or stamps from CreateAlong's amazing collection to give your clay a captivating texture. From intricate patterns to whimsical designs, the choice is yours.
**Step 4: Cut the Clay**
Now, take your hair slide cutter in the shape of your choice. We have several, with the holes all lined up for your hairpin!
**Step 5: Shape and Mold**
Gently drape the clay circle over your hand or a rounded object to give it a curved shape, similar to the curve of your bun. This ensures a snug fit over your hair.
**Step 6: Bake to Perfection**
Preheat your oven to the temperature specified on your polymer clay packaging. Place your bun cover on a baking sheet or foil and bake according to the instructions (usually around 15-30 minutes). Don't forget to let it cool completely before handling.
**Optional Step 7: Smooth and Shine**
If you desire a super smooth and shiny finish, you can sand your bun cover lightly with fine-grit sandpaper. Then, apply a coat of varnish or glaze for that extra sparkle.
**Step 8: Attach Your Bun Cover**
Slide a hairpin or hair comb through the back of your bun cover. This will allow you to easily secure it in your hair.
**Step 9: Rock Your Bun Cover**
Now comes the fun part – flaunt your gorgeous polymer clay hair bun cover! Whether you're headed to a special event or just want to add some pizzazz to your everyday style, your hair slide will be the talk of the town.
Voilà! You've created a stunning polymer clay hair bun cover that's as unique as you are. Thanks to CreateAlong's incredible range of polymer clay tools, your creative journey is bound to be a blast.
Remember, there's no limit to the colors and textures you can explore with polymer clay. So, let your imagination run wild, and let your hair bun be a canvas for your creativity. Happy crafting, queens! 🌈👑✨

